How to Build a Wooden Mug Display Stand
Building your own wooden mug display stand is a fun, practical, and aesthetically pleasing weekend project. Whether you're showing off your favorite mugs or creating a charming kitchen accent, this guide walks you through the steps, materials, and finishing tips to create a sturdy, eye-catching stand in just a few hours.
🧰 Materials & Tools

Materials
-
2×4 and 1×3 wood boards (pine, cedar, or fence pickets work great) Our Home Made Easy+9YouTube+9YouTube+9Shanty 2 Chic
-
¾″ dowels or ¼″ metal rod (for hanging mugs)
-
Wood screws or brad nails
-
Wood glue
-
Wood stain or paint
-
Wall-hanging hardware (French cleat or keyhole hangers)
Tools
-
Miter saw, circular saw, or jigsaw
-
Drill + Forstner bit (size matches dowel thickness) Shanty 2 Chic+1The Spruce+1Our Home Made Easy+2The House of Wood+2The House of Wood+2Our Home Made Easy+1Shanty 2 Chic+1
-
Sander or sandpaper
-
Level & measuring tape
-
Optional: Kreg jig for pocket holes
🔧 Step-by-Step Build Guide
1. Measure & Cut the Frame
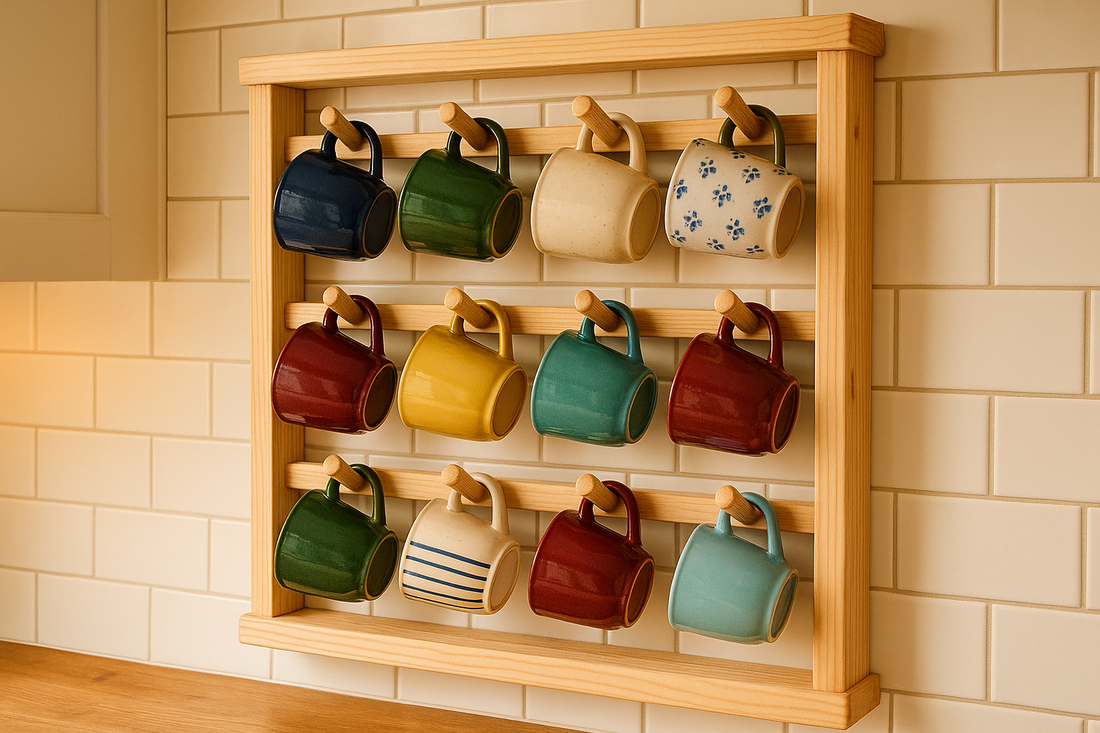
Cut two vertical support pieces (1×3 or 1×4) and several horizontal cross-pieces from your boards. Sizes vary based on your mug collection—most racks use 3–4 rows to hold 3–5 mugs each (YouTube+13, The House of Wood+13The Inspired Room+13. Sand edges smooth.
2. Drill Dowel Holes
Mark each cross-piece with even spacing (approx. 4–5″ apart) and drill holes with a Forstner bit, about ½″ deep. This ensures your dowels sit flush and level.
3. Assemble the Frame
Lay out the verticals and slide in the cross pieces with dowels. Secure with wood glue and screws or brad nails. Use pocket holes if you have a Kreg jig for cleaner joints.
4. Add Hanging Rods
Insert wooden dowels or slide through a metal rod to hang mugs. Metal rods add an industrial touch and extra strength.
5. Finishing Touches
Apply stain or paint to enhance the wood’s charm. For a distressed farmhouse look, lightly sand edges after staining. Install wall mounts: French cleats offer heavy-duty support, while keyhole hangers are quick and easy.
🎨 Design Variations

Simple Grid Rack: Create a minimalist style with evenly spaced dowels in a square frame—perfect for showcasing uniform mug collections.
Pallet-Styled Rack: Reuse pallet wood for rustic charm; nail hooks or hangers to the planks for an easy and eco-friendly design.
Large “Mug House” Shelf: Build a cubby-style structure to show off dozens of mugs like a decorative grid wall.
✅ Tips for Success
-
Start small: Build a rack with 1–2 rows before investing in a large display.
-
Dry fit first: Assemble without glue to ensure all pieces align.
-
Choose the right finish: Use food-safe stains if mugs will rest against raw wood.
-
Hang securely: Ensure wall studs anchor your rack—heavy ceramic mugs add weight!
✨ Final Thoughts
With this DIY mug display stand, you combine function and charm in your kitchen décor. Customize the wood, size, and finish to match your style. By building something practical and beautiful, you add character to your home and create a conversation piece every morning. Plus, it’s a thoughtful, handmade gift!
This article contains affiliate links. I may earn a commission if you sign up or buy through them, at no extra cost to you.